Pouncing 101 for Murals
Learn how to make a pounce pattern as a way to transfer your art onto a wall for painting murals or signage. The tutorial includes a supply list for everything you need to make a pounce pattern and all the basic steps to get started.
Pouncing is a manual tracing technique traditionally used by sign painters, sewers, and crafters.
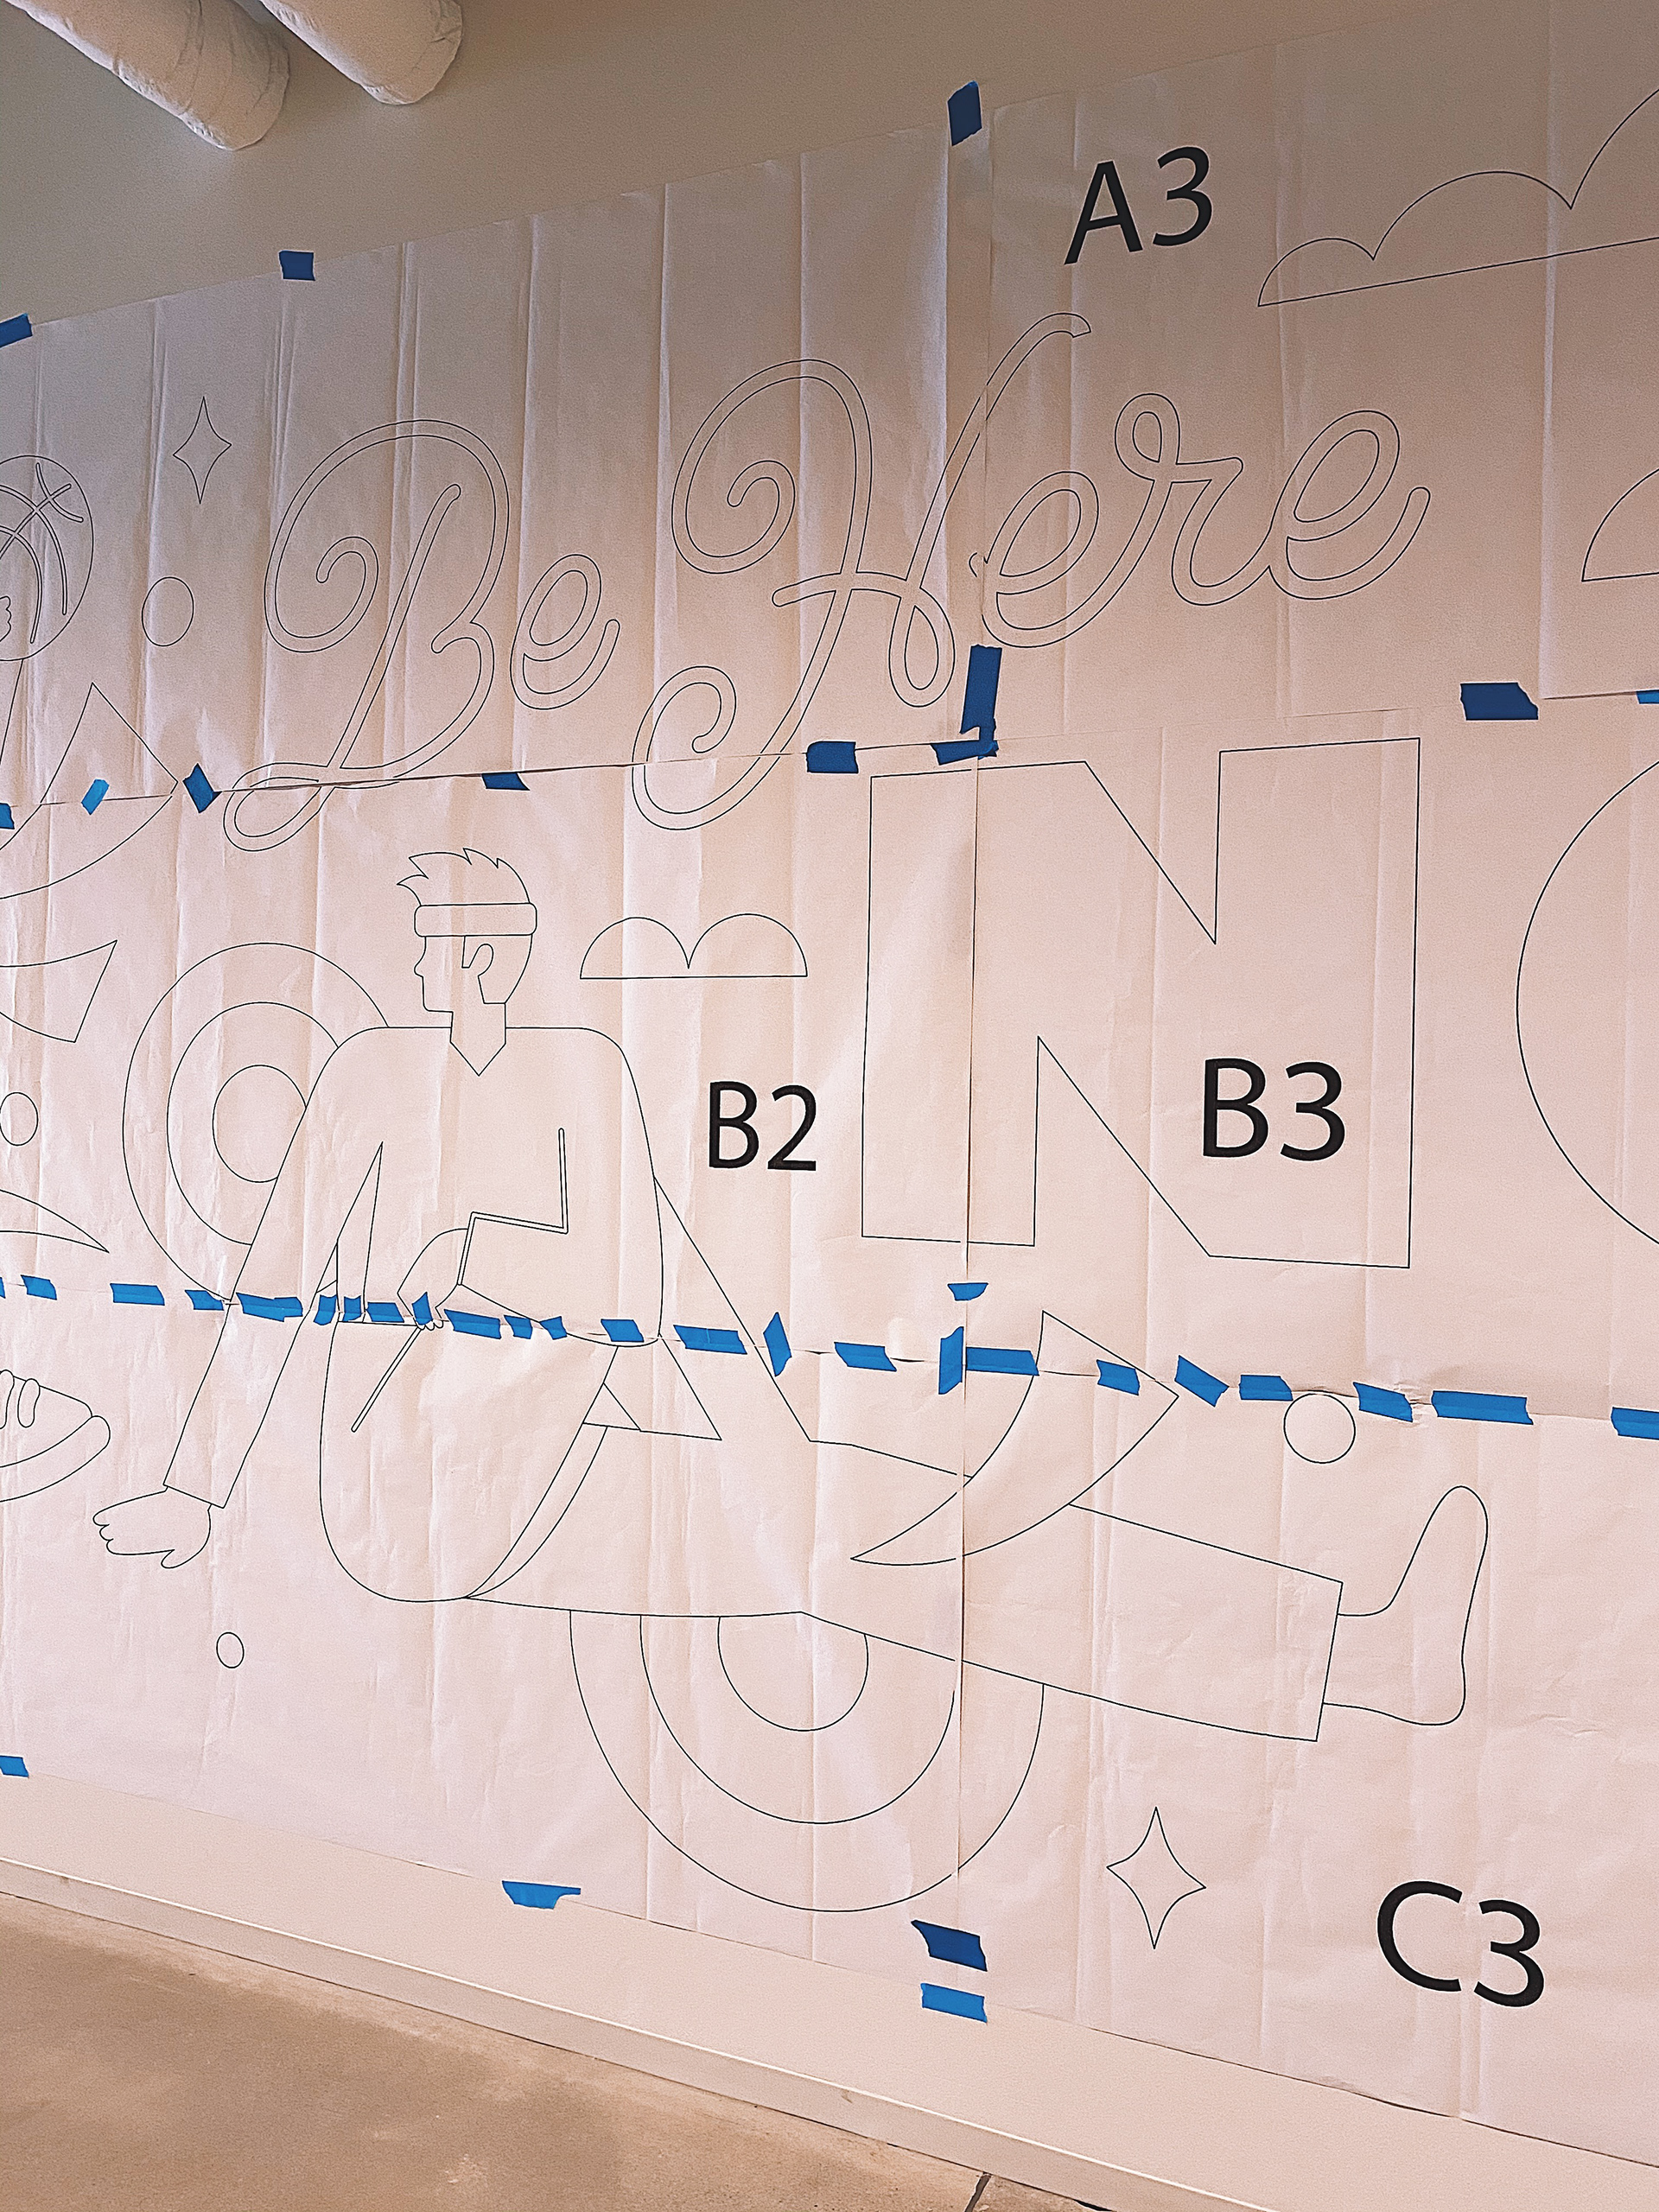
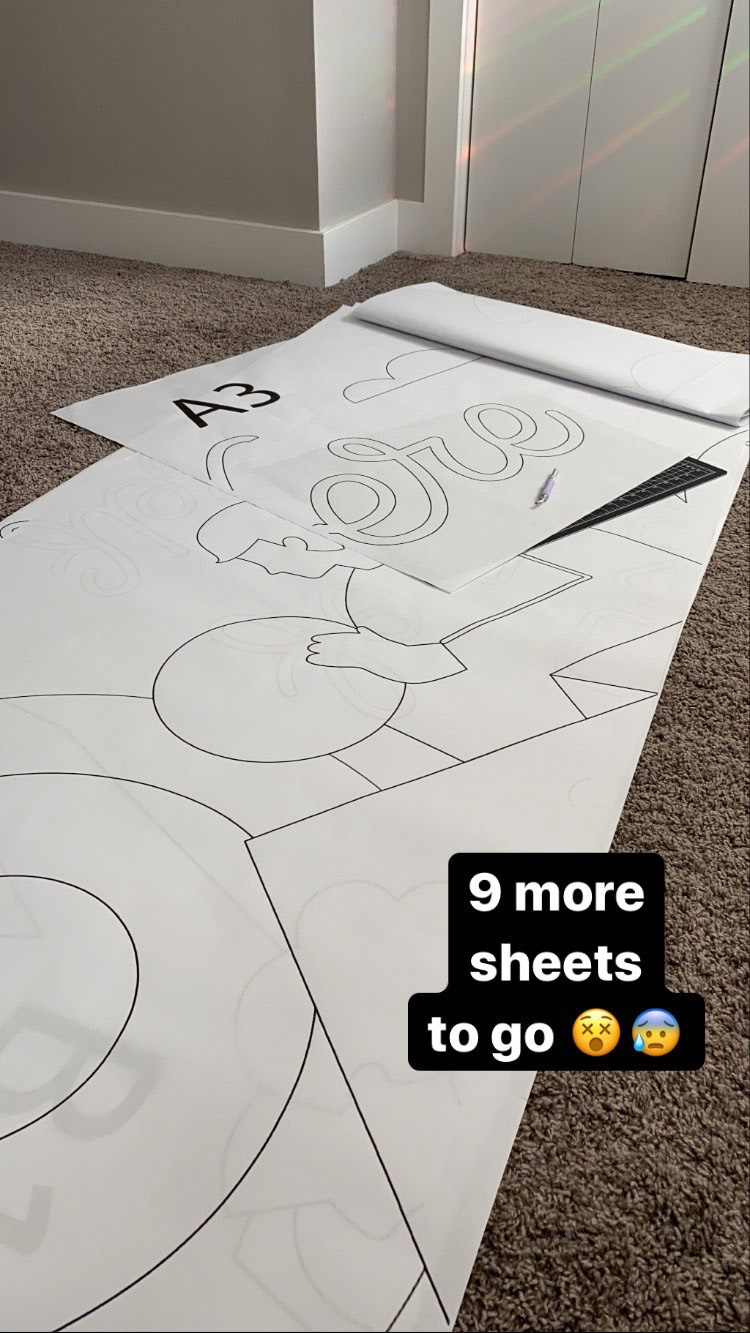
A pounce pattern is one or multiple sheets of paper tiled together to create an artwork template. In the examples above, the photo on the right uses multiple sheets of paper tiled and taped together.
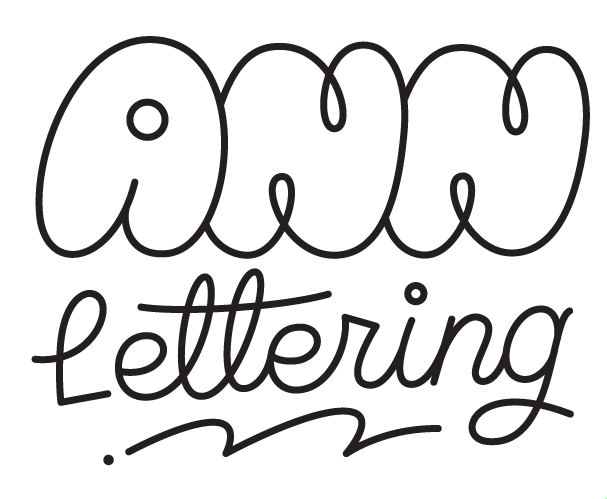
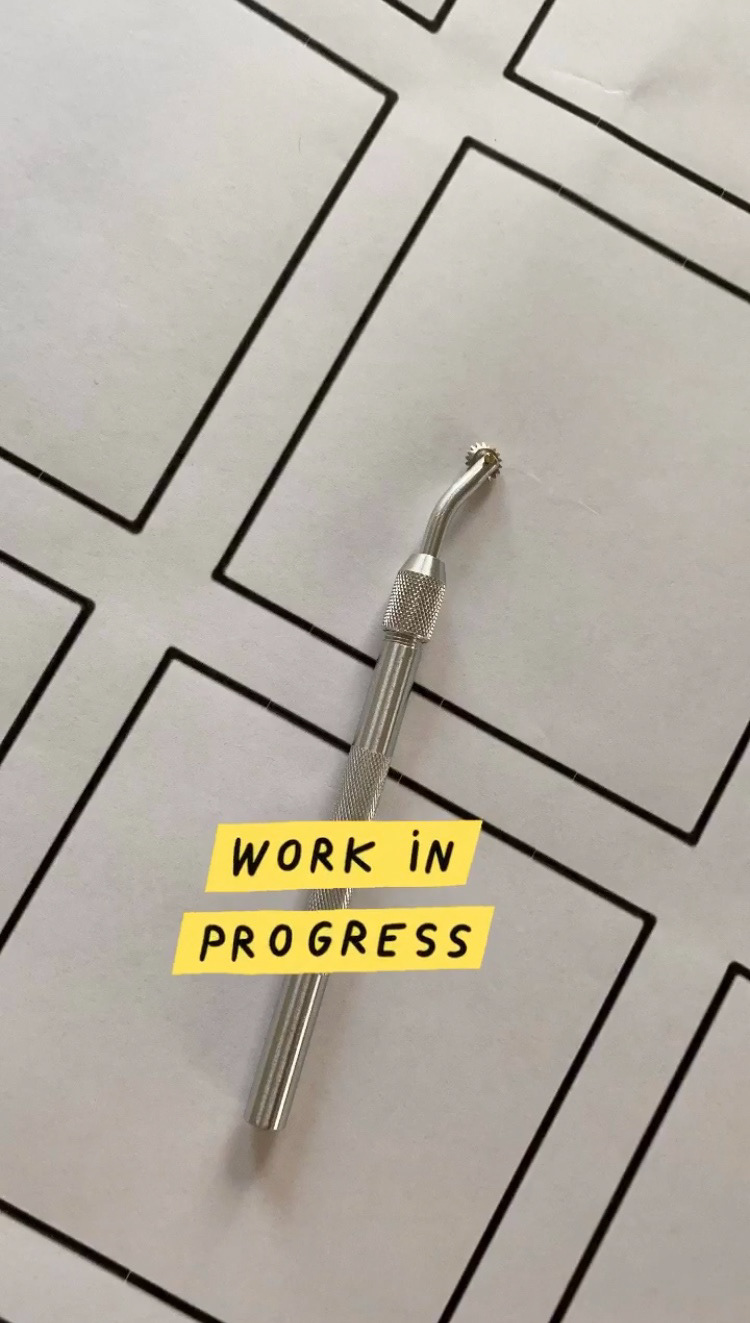
The artwork is typically printed in black/white (cheaper than color). The artwork can be linework or solid-filled art. A pounce wheel is used to perforate over the outline of the art. The wheel pokes tiny series of holes onto the paper. Once the entire artwork is perforated by the wheel, the paper pattern is taped to the wall (or any surface you want to place the tracing). A pounce pad is then applied on top of the pattern in a rubbing motion. The powder passes through the perforations, creating a tracing of your art onto the surface behind the paper. Ta-da! That's pouncing for ya!
As you are painting, you may want to gently brush away some of the powder on the wall with a small clean brush so your paint doesn't mix with the powder. Don't brush too hard because that may erase your tracing. This is more important when your powder is black and you are painting with light colors.
See a pounce pad in action here. The first few seconds of the video is of me rubbing the handmade pounce pad against the paper. I'm taking off the paper as I go because some of the perforations were covered up by the next sheet of paper.
If you use a pounce pattern for an outdoor mural, be sure to check the weather in advance! If it rains, your powder tracing may wash away. If wet weather can't be avoided, I recommend drawing over your powder tracing with an acrylic-based paint marker. Once dry, the marker will stay even if the wall gets wet the next day.
When to use a pounce pattern for murals?
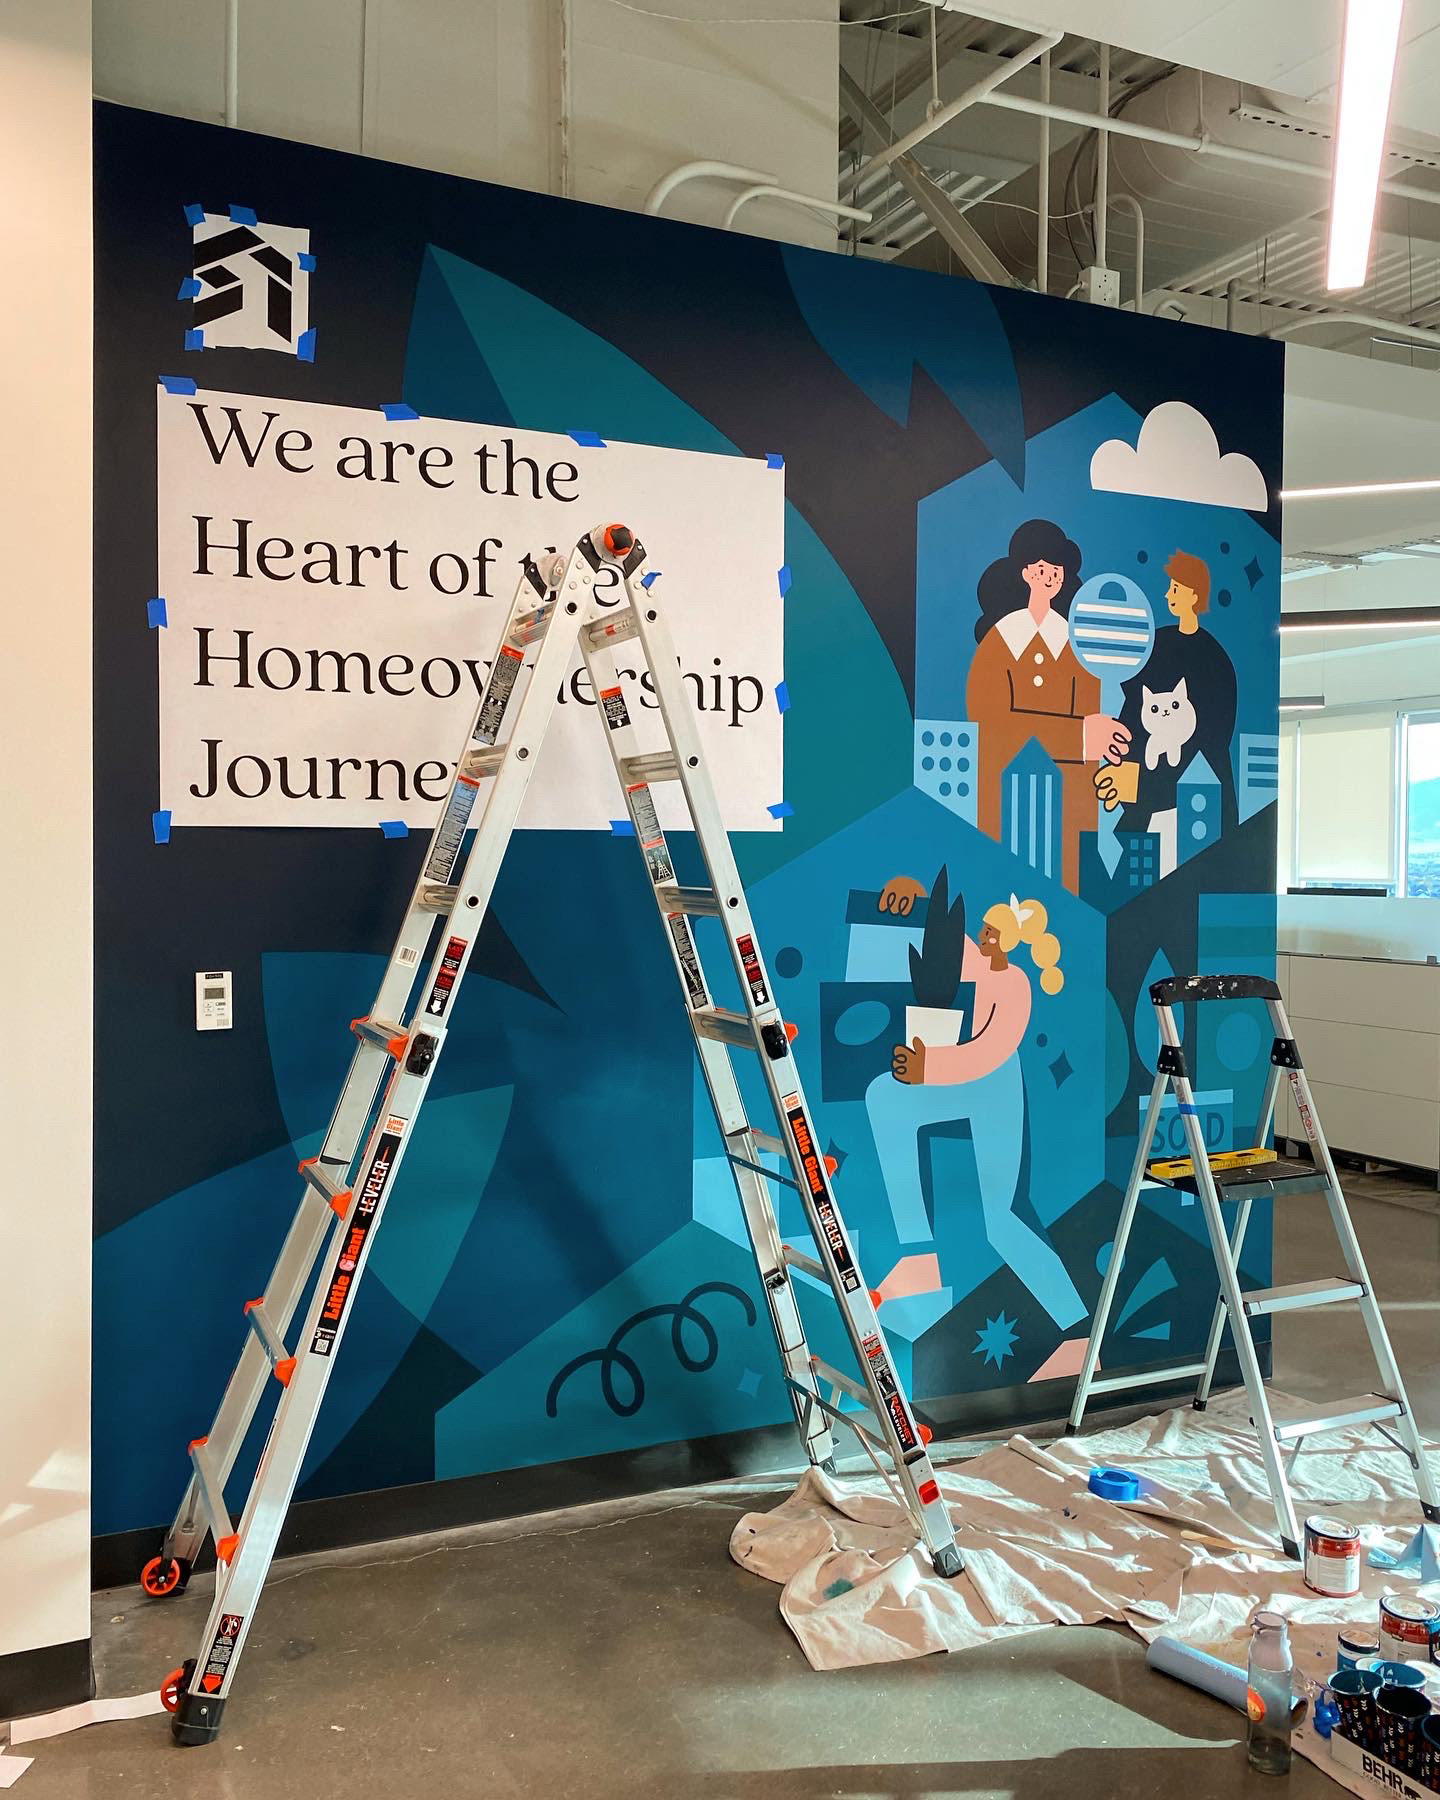
Pouncing is a reliable way to transfer a design to the wall when you can't use a projector. There are other ways to trace your art without projectors, such as the doodle method, grid method, or freehand. Pouncing is ideal when your art is complex and requires an accurate placement on the wall. For example, I used pouncing on a mural spanning 44ft wide in a corporate office hallway. The mural's location in a tight hallway made it difficult to use a projector for tracing, so I rose to the challenge with old-school pouncing! Since learning this method, I've relied on pouncing for tracing typography and transferring my art onto a curved wall.
Another reason to pounce is to keep the exact proportions of your artwork. Projectors can warp your art by stretching it, which can be noticeable in typography made with fonts. The projections are also pixelated, which makes tracing smaller typography like serif fonts more challenging. These are reasons why I made a pounce pattern for the phrase, "We are the heart of the homeownership journey." in the mural above.
I've done pouncing on cotton stretched canvas and smooth walls. Pouncing may not work well if the wall is very rough textured since your template won't be able to lay flat.
The supplies list
For easy viewing, click here to see all the supplies via my Amazon storefront.
1. Pounce Wheel (single or set) I've only had experience with the 5/16" wheel, but it is available as a set with multiple sizes. The 5/16 inch is the distance between each hole created by the wheel. I'd own at least two wheels, so you have a backup as they can break with prolonged use.
2. Corkboard (link) You need supporting material under the template to create perforations with the pounce wheel. From my experience, a corkboard is the best material. I've tried a rubber cutting mat and thick cardboard in the past. These materials were too firm and made the perforation process incredibly painful for my hands as I had to push the wheel harder to create the holes.
3. Pounce Pad (link) I've never used these pads but they are the go-to for many sign painters and quilters. Alternative: I'm all for spending less money so I made my own pad by using a sock. You can use any cotton-based cloth like an old t-shirt. My sock is filled with powder and tied in a knot at the top. When it's not in use, I keep the sock in a zip-lock bag to prevent powder from escaping.
4. Pounce Powder (link) This is the recommended powder with the pounce pad above. They come in colors of white, blue, and pink. You'll want to use light color powder on dark color walls and vice-versa. Again, I haven't used these powders because I opt for cheaper materials. Alternative: Any washable/erasable chalk meant for the sidewalk and chalkboard can replace pounce powder. I've used a pack of Crayola's chalk sticks (link) broken into powder. Be careful not to get chalk powder labeled for "chalk lines and reels" from hardware stores. Those are high-grade chalk meant for construction use with semi-permanent and semi-waterproof qualities. I do not recommend it for pouncing indoors as they require a soapy solution to wash off.
Another alternative is Graphite Powder (link) meant for drawing. It worked well but can cause you to inadvertently create finger smudges on the wall because your hand will be covered in powder. No fear, the graphite smudges are erasable with a regular eraser (I prefer Pentel link, they are very gentle on the wall and don't leave weird eraser marks). Graphite powder smears when it gets wet, but once dry, it's erasable. Another way to remove graphite is disinfectant wipes (link). I always have some wipes with me during mural installs. You can also paint over the graphite smudges; brush off any excess power first.
5. Painter's Tape (link) To place the pounce pattern on the wall, you'll need strong but removable tape without leaving residue on the wall. 3M painter's tape is my favorite! There are other brands, but I prefer 3M Blue Tape because they are reputable, affordable, and sold in stores. I use these tapes often for blocking out letters and shapes for my murals, so I always buy them in bulk to save money.
6. Level (link or fancy foldable level) Placing large sheets of paper on the wall can be a challenging task. You'll want to have a level on hand so you can make sure your template is aligned perfectly straight. Mine is super cheap from the Dollar store! Don't know how to read a level? Check out this video here. I also use my level all the time during the mural painting process. It's a must-have for creating straight lines.
This post is 100% free to you and produced with my own time and energy, but I do make an itsy bitsy commission at no extra cost to you when you purchase through the affiliate links above.
What is this magical paper and where can you get it?
The oversize printouts are known as "Engineering Prints". The paper is actually similar to printer paper you may have at home. In fact, you could print your own pounce pattern with a home printer and tile it together to create a template. I've done this for small logos and 11"x14" signs. For a big mural though, it's frustrating and time-consuming to perfectly tile and tape a plethora of paper together by hand. I don't recommend it, you'll wish you paid a print store to do it.
With my local FedEx, they can print 36" (3ft) wide and however long you want the printout to be. Alternative: If your project is not time-sensitive or you are planning weeks in advance, I recommend printing your pattern online through PDFPlotting.com. The pricing is only a few dollars per sheet compared to FedEx, which charges at least $0.85 cents per sqft of paper used.
From previous experience, it's easier to tile and tape the template vertically, like in this video here. You'll need another person to help you tape the pattern if you print out long horizontal sheets.
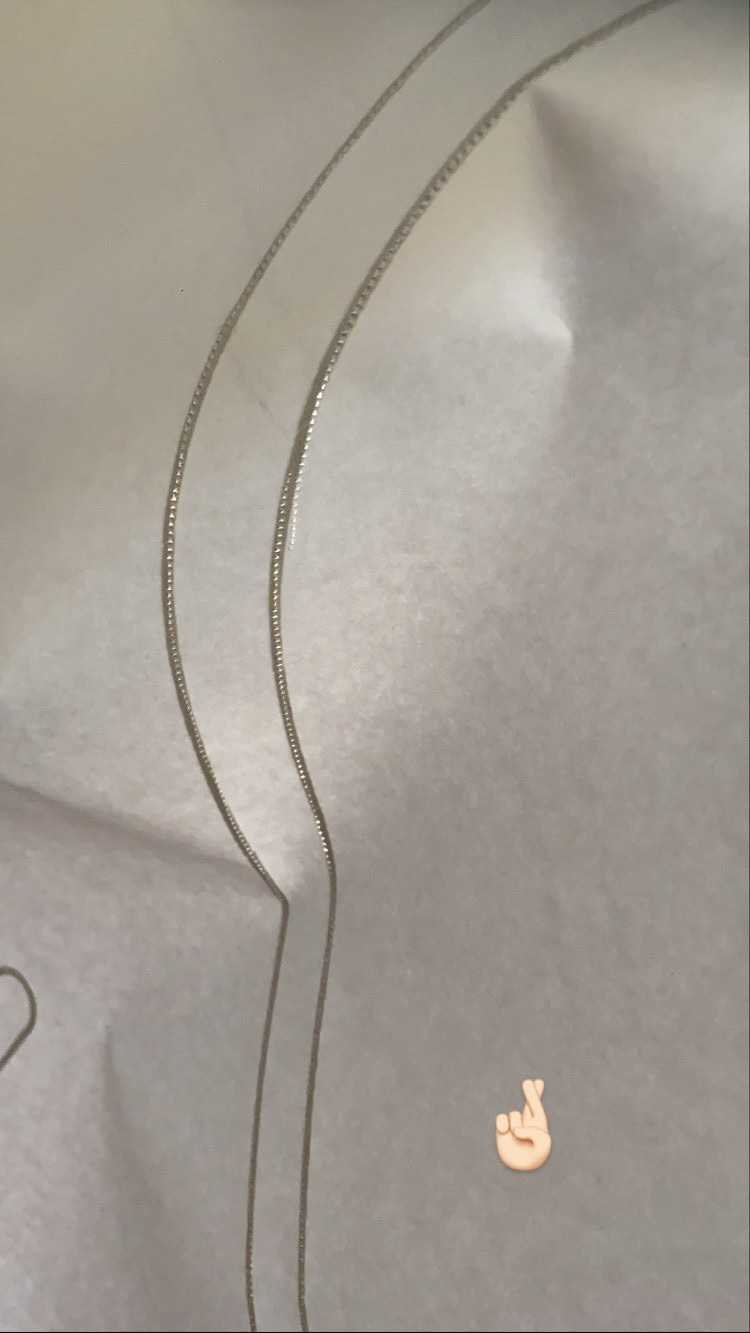
How to tell if your pounce pattern will work
Once you perforated your pattern with a pounce wheel, lift the paper up against a light source. If you can see light through the holes, it means the pounce pattern will work with the pounce powder. You can see an example above from the photo on the far right.
The correct way to use a pounce pad
The proper technique is to pound the pounce pad once against a surface to release the powder, and wipe the pad against the template. In my timelapse here, I'm rubbing my graphite powder-filled sock against the pattern. A common mistake is to bang the pounce pad repeatedly against the template. This error causes a lot of powder to release, creating a dooming cloud. If you are indoors, the powder lands on EVERYTHING. Even if you are using the proper technique, it's good to have a drop cloth on the floor to catch any excess powder.
Here is a quick breakdown of the pouncing process
Step 1: Measure your wall to determine how big your design needs to be.
Step 2: Figure out what size your local print shop or FedEx can do for oversize or engineering prints.
Step 3: Create your art file for printing and tiling the pattern.
Step 4: Use the pounce wheel to create perforations on the pattern.
Step 5: Place the pattern against the wall with painter's tape.
Step 6: Apply the pounce pad over the pattern.
Step 7: Remove the pattern from the wall.
Now that you know the basics, I hope pouncing will come in handy for you!
Don't be intimidated by pouncing. Muralists use this technique all the time for large-scale paintings that span multiple floors outside a building. It's effective for creating accurate and to-size tracings. I always use a projector whenever possible, but this method can be a lifesaver when projectors are unavailable. I hope you learned plenty from this post, and don't let the lack of a projector stop you from starting that mural!